Stunning Custom House Name Plate: Features and Installation Guide
Introduction
Welcome to our guide on our premium custom house name plates, designed to combine elegance with durability. Whether you’re a first-time buyer or looking to upgrade your home’s entrance, this guide will provide you with all the details you need to make an informed decision.
Our featured house name plate is crafted with precision and care, offering both aesthetic appeal and long-lasting quality.
Product Details:
Dimensions: Customizable dimensions to fit various wall sizes. Standard sizes include small, medium, and large.
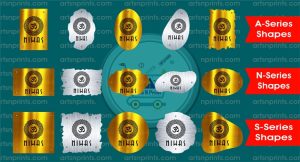
Materials: Made from high-quality, weather-resistant materials, this name plate is designed to withstand outdoor conditions without rusting or fading.
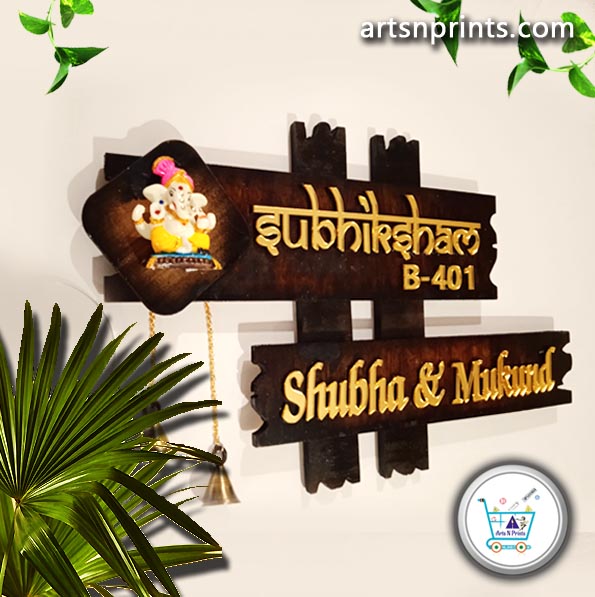
Design: Elegant design with intricate detailing. This particular model features a sleek, reflective surface with a classic font, adorned with corner embellishments and a house icon.
Shape: Available in various shapes including rectangular (as shown), square, oval, circle, and abstract forms.
Material Quality
Our name plates use engineering-grade raw materials to ensure they are:
Weather-Resistant: Capable of withstanding rain, sun, and varying temperatures without degrading.
Rust-Proof: Special coatings and material selections prevent rust, ensuring the name plate remains pristine for years.
Durable: Built to last, maintaining their appearance and integrity over time.
Customization Options
We offer extensive customization to match your personal style and home décor:
Fonts: Choose from a variety of fonts to reflect your taste.
Colors: Available in multiple color options to complement your home’s exterior.
Symbols: Add personalized symbols or family crests to make the name plate uniquely yours.
Installation Guide
Installing your new house name plate is straightforward. Follow these steps for a seamless process:
1. Gather Tools: You’ll need a drill, screws, a screwdriver, a level, and a pencil.
2. Mark the Position: Hold the name plate against the wall where you want to install it. Use a level to ensure it is straight and mark the screw positions with a pencil.
3. Drill Holes: Drill holes at the marked positions. Ensure the holes are deep enough to hold the screws securely.
4. Insert Screws: Insert the provided screws into the drilled holes.
5. Mount the Name Plate: Align the name plate with the screws and secure it in place. Ensure it is firmly attached and does not wobble.
6. Final Adjustments: Check the level again to make sure the name plate is perfectly straight. Tighten any screws if necessary.
Maintenance Tips
To keep your house name plate looking its best:
– Regular Cleaning: Wipe the surface with a damp cloth to remove dust and grime. Avoid abrasive cleaners that could scratch the surface.
– Check Fastenings: Periodically check the screws and mounts to ensure the name plate remains securely attached.
– Protect from Damage: Avoid placing the name plate in areas where it might be hit or scratched by outdoor furniture or garden tools.
Conclusion
Our custom house name plates are a perfect blend of style and durability, making a lasting impression on visitors and enhancing your home’s exterior. By following our installation and maintenance tips, you can enjoy your beautiful name plate for years to come. Visit our website or contact us for more information and to start designing your personalized name plate today!






Leave a Reply